
|
603-630-5658
|
|
tinypontoonboats@gmail.com
|

|
SECTION 1
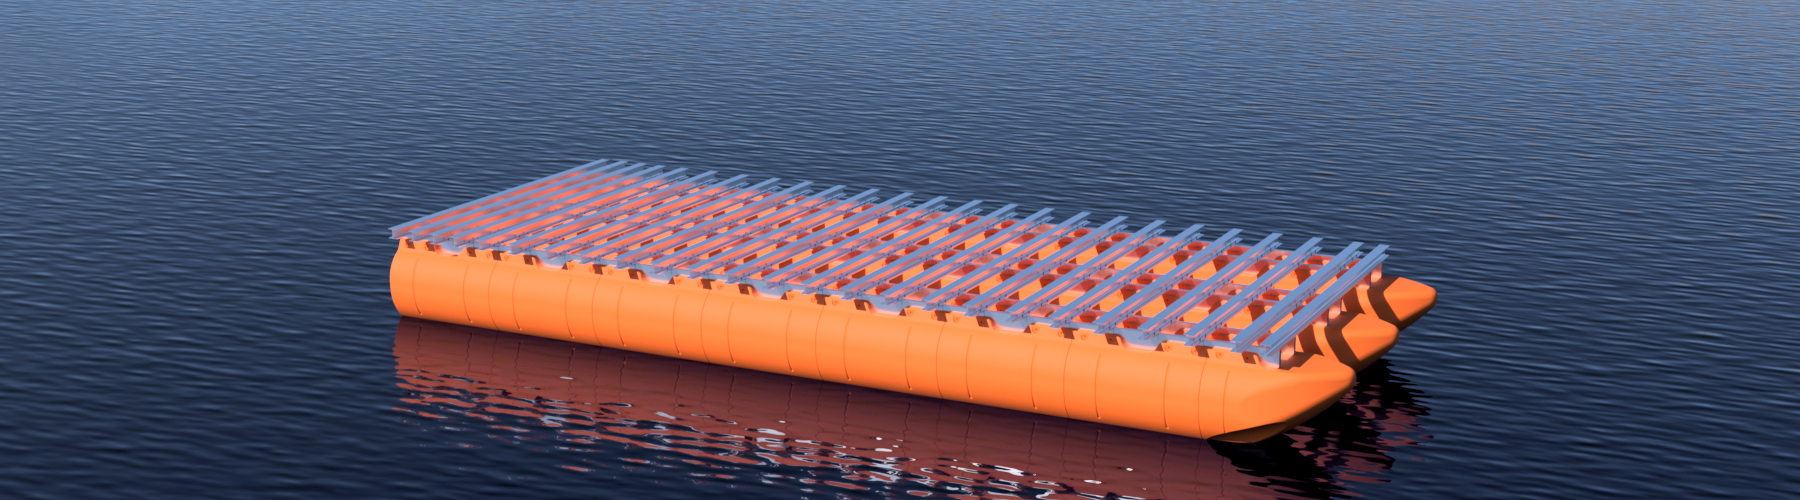
Do you think that you can build an aluminum frame system for your large barge for less than us!? Can you weld aluminum like a deity? GOOD! Wait, why is that good? It's good because shipping of large frame systems from our location in NH can be quite costly, and we have dimensional limitations for what we can produce for frames. If you are in the US, east of the Mississippi River, and you don't need a barge larger than our 12'x32' system, this DIY system will NOT be more cost effective than our standard bolt-together system. If you're on or near the west coast in the US, the frame concept we discuss here can save you a few grand IF YOU ARE AN EXPERT LEVEL ALUMINUM WELDER and don't have to hire one.
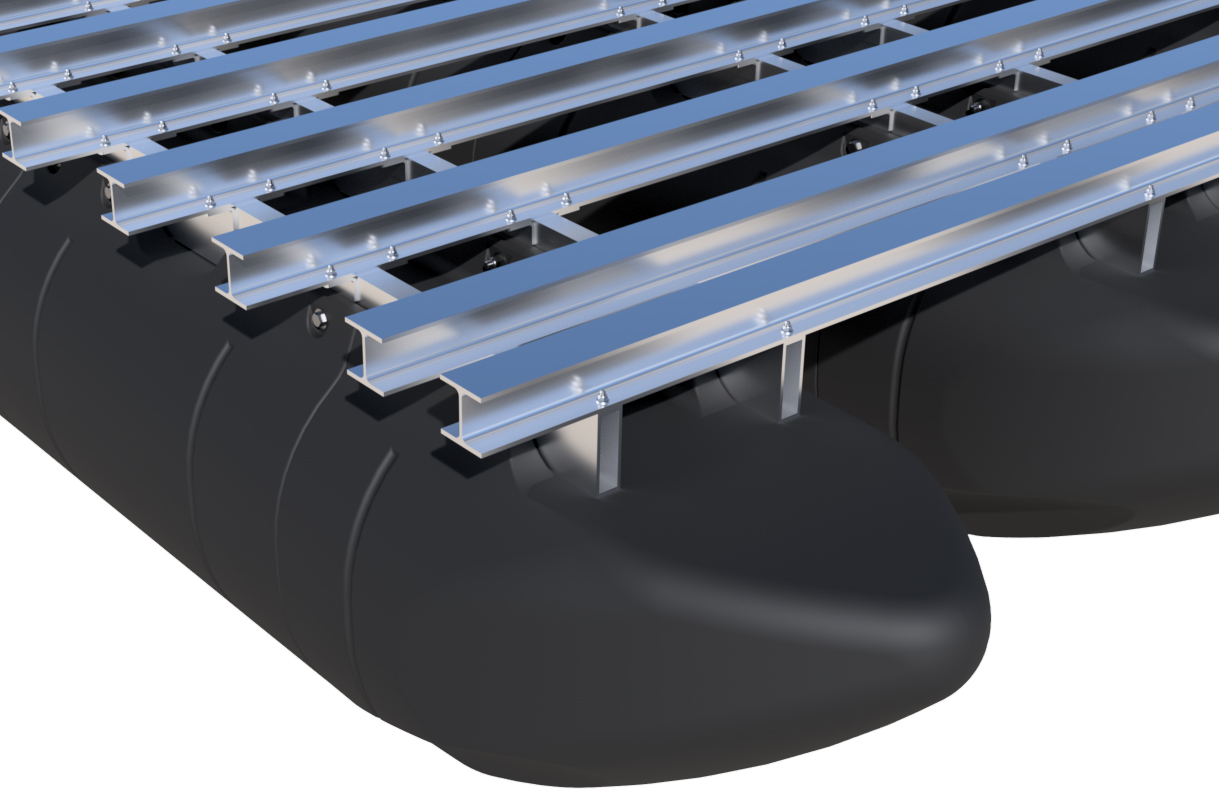
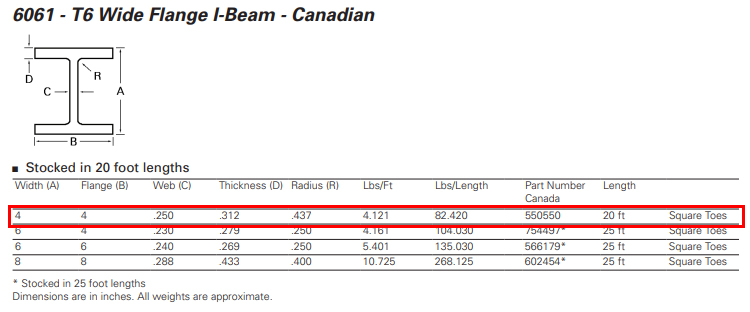
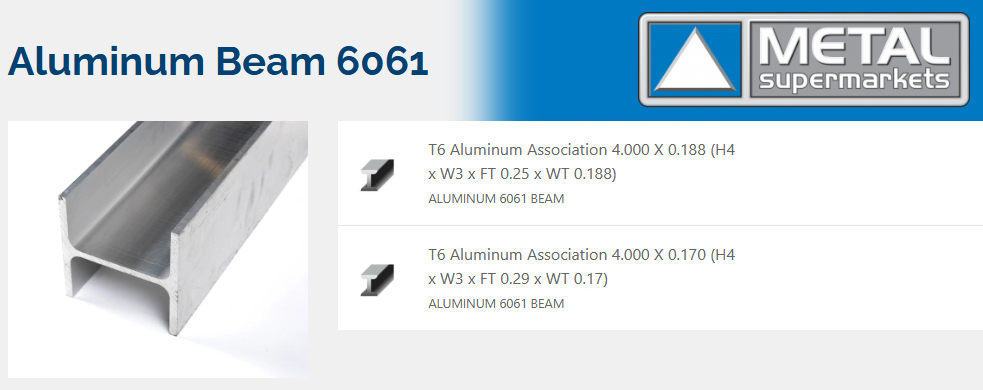
The specific material that allows this DIY frame concept to exist is the "Aluminum Association" 6061 extruded aluminum I-beam. This type of I-beam does not have tapered flanges, which means that nuts and bolts can sit flat on the bolting surface. "American Association" I-beams have inner and outer surfaces that are not parallel, which means that nuts or bolt are not able to sit flat against the bolting surface when installed. That can cause bolts to bend or tear, which can cause a frame failure. "Aluminum Association" I-beams are appropriately shaped for the task. Two suppliers we have found that offer appropriate I-beams for many large barge applications are Alaskan Copper and Brass Co. in WA, and Metal Supermarkets, which has locations throughout the US. Other local metal suppliers are likely able to source this material as well. We have pointed out the I-beams that are appropriate for most large barge systems below.
ALASKAN COPPER & BRASS CO. HOME PAGE
NOTE:
|
|

|
SECTION 2
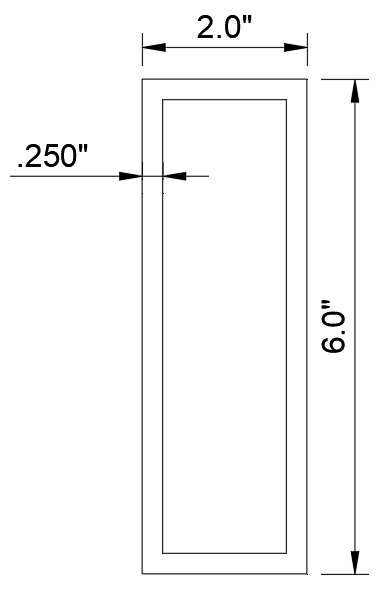
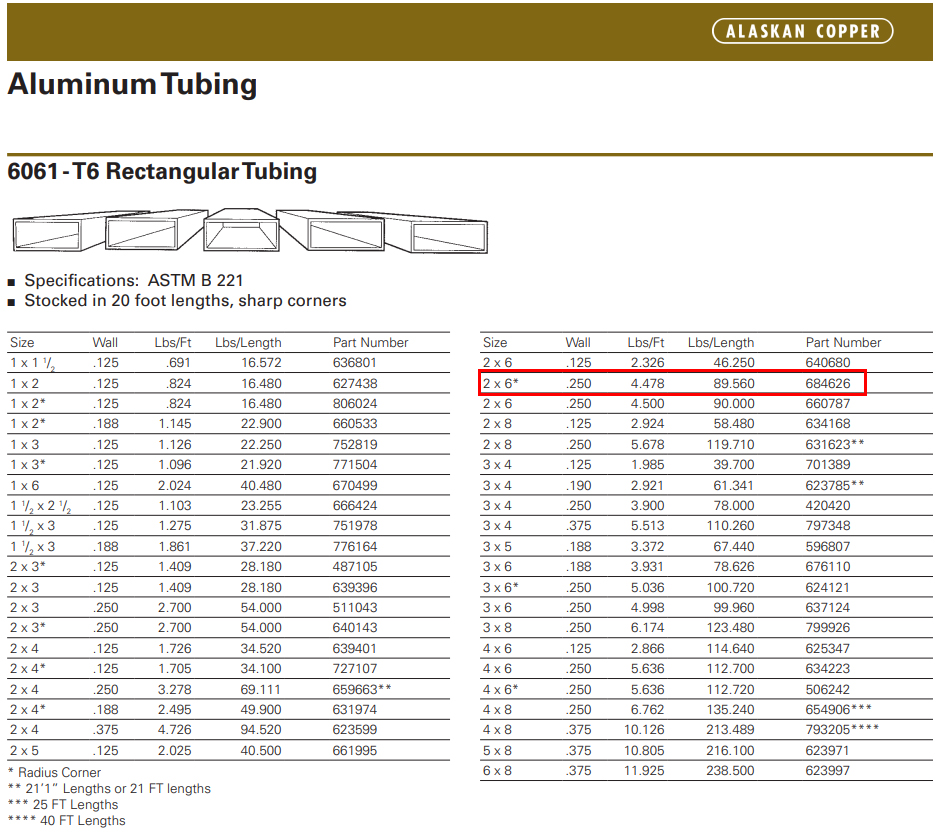
The I-beams are half of the puzzle, so what about the backbone for the floats? You know, the tube that runs the length of each pontoon assembly? That's easy! You need 2"x6", 1/4" wall 6061 aluminum for most barge systems, and many suppliers can get this material in lengths that are much longer than 20' if you ask nicely and have a little patience. Suppliers like
Alaskan Copper,
Metal Supermarkets,
OnlineMetals.com (Thyssenkrupp), and other independent suppliers can typically supply this material in lengths longer than 20'. If you don't have time to wait for longer lengths, you can splice 20' lengths and use gusset plates (recommend design listed later on this page) to ensure that you're making strong connections. Remember, you happen to be an absolute BOSS when it comes to welding aluminum, so you can do this. You said so yourself!
NOTE:
AMAZON SEARCH FOR 1/16" ROUNDING ROUTER BIT 6"x2", 1/4" WALL "RADIUS CORNER" RECTANGULAR TUBE FROM ALASKAN COPPER
|
 |
|
SECTION 3
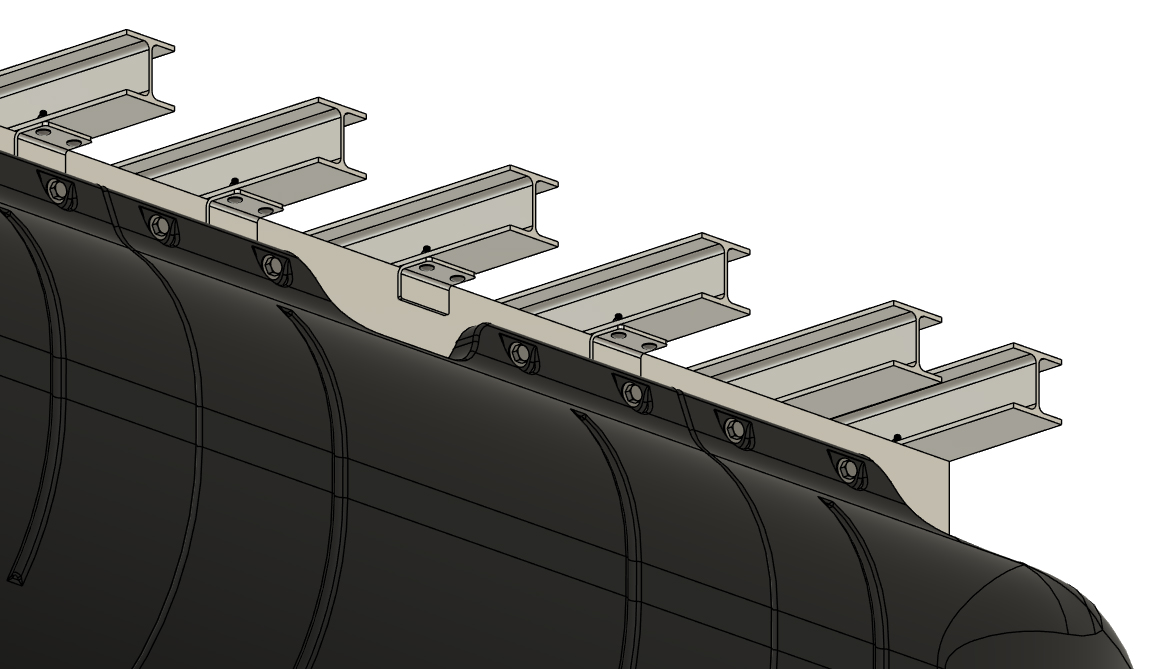
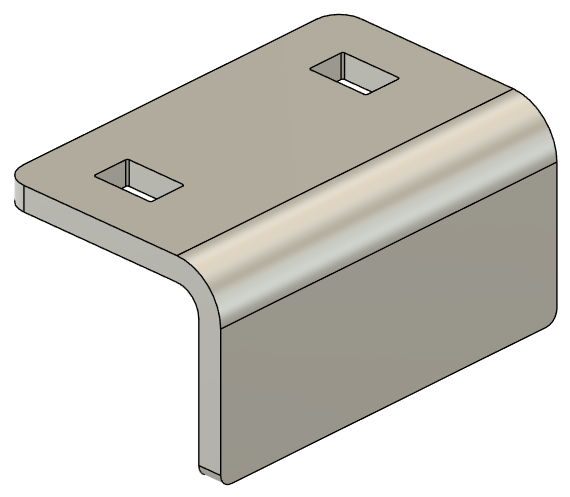
So how are you supposed to bolt the magic I-beam crossmembers to the aluminum Main Tubes? That's also easy since you're a fabrication master. First of all, order up a pile of the brackets from SendCutSend.com that we so kindly designed just for you. These parts are to be cut and formed from 1/4" thick 5052 aluminum plate. Here's a link to the CAD file for those: WELD-ON BRACKET CAD FILE FOR 4" TALL, 3" WIDE I-BEAMS LISTED ABOVE |
 |
|
SECTION 4
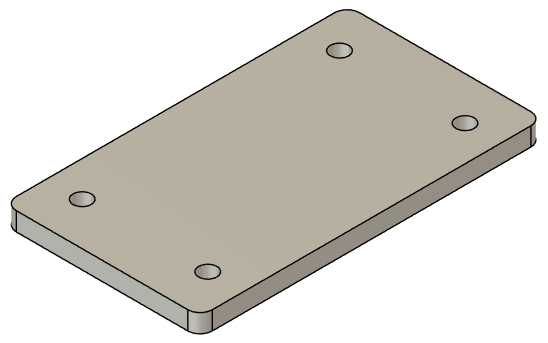
How should those be welded on? As you're a welding super star, you already know that welding formed 5052 aluminum to 6061 extrusion requires ER5356 welding rod, so bust out that pile of special TIG rod that you've been bragging about and this will be easy. The brackets need to be welded on precisely and you can use a fixture plate to do that. After the first Main Tube is complete, use it as your pattern for the rest. Here's a CAD file for a fixture plate that will help with this:
|
|
|
SECTION 5
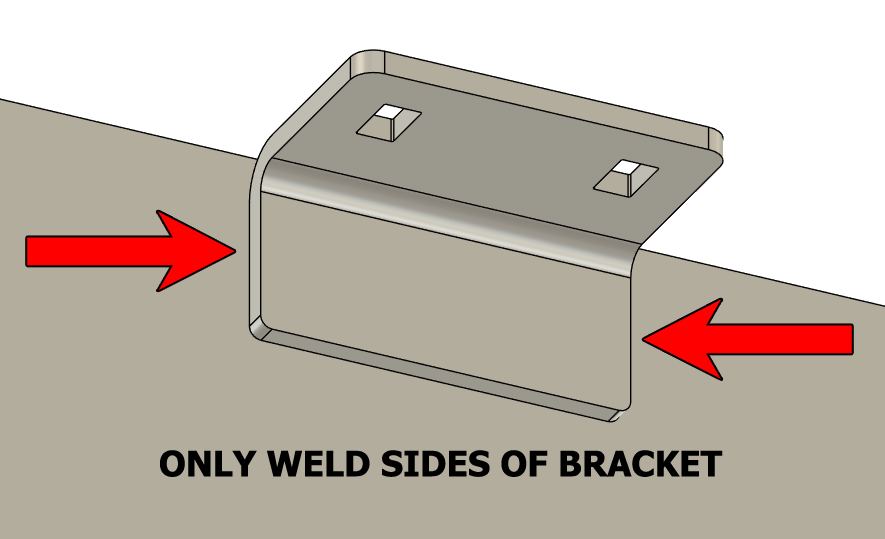
So, what's the welding procedure? You'll want to weld ONLY the vertical edges of each bracket to minimize distortion of your Main Tubes. Also, when it comes to bolting on the I-beams at the ends of your boat, you can drill directly through the top of the 2"x6" tubes and bolt the end crossmembers directly to the tubes. This typically eliminates the need for a few of the weld-on brackets.
|
|
|
SECTION 6
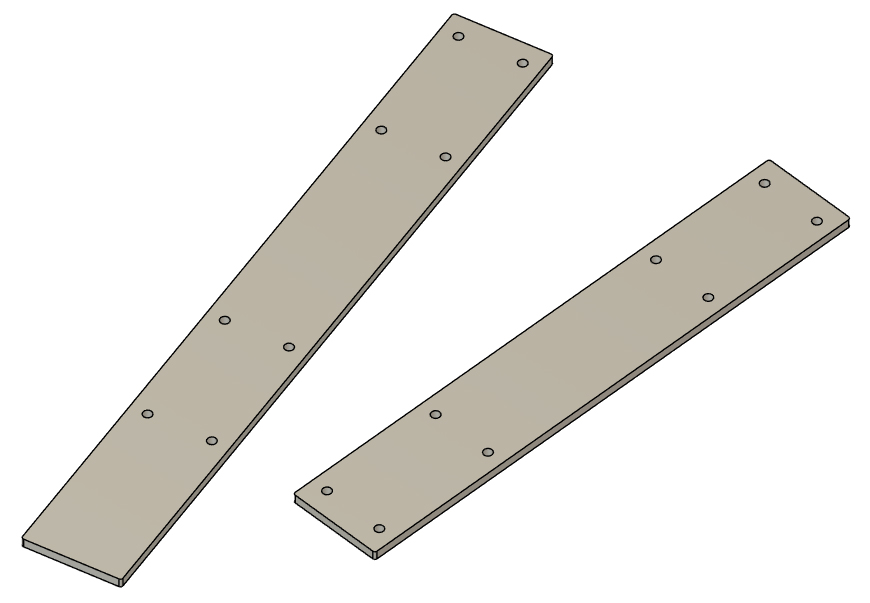
Now you want hole patterns for the crossmembers? Sure, why not?! Here are a couple hole patterns for your I-beam crossmembers. The "Outer Float Hole Pattern" keeps the outer edge of the floats even with the ends of your crossmembers. The "Inner Float Hole Pattern" is for those building barges with 3 or more rows of floats. If building a tri-toon, you'll have to center this pattern on your crossmembers. The hole patterns below are for I-beams that are being bolted to the weld-on brackets:
INNER I-BEAM HOLE PATTERN We mentioned that the I-beams at the end of the barge could be bolted straight through to the Main Tubes, so how about those hole patterns? Well, as the specified 16" on-center spacing for the floats' mounting channels actually lands more toward 15.9" when the floats are cold, you should mark and drill those holes individually. The weld-on brackets allow for the minor variation in the 16" measurement, but if you drill round holes before the rest of the crossmembers are attached, you'll just end up having to over-size the holes to make them fit. Drill and attach those crossmembers after the rest of the I-beams are attached. |
 |
|
SECTION 7
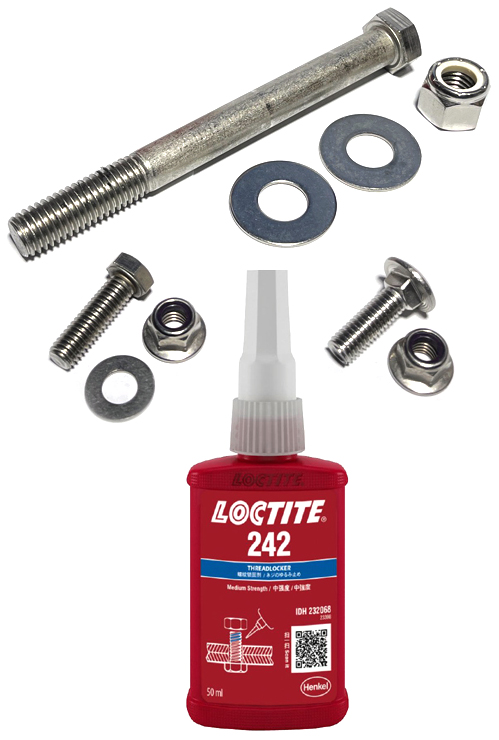
If we're providing all this info, we really should provide a hardware list for these frame builds. That's all listed below in a 18-8 stainless steel material and required quantities will vary per design application.
Hardware for crossmembers attaching to weld-on brackets
Hardware for crossmembers bolting directly through Main Tubes
Hardware for attaching floats to Main Tubes
|
 |
|
SECTION 8
Since we've gone this far with info, we have a few more tips to share:
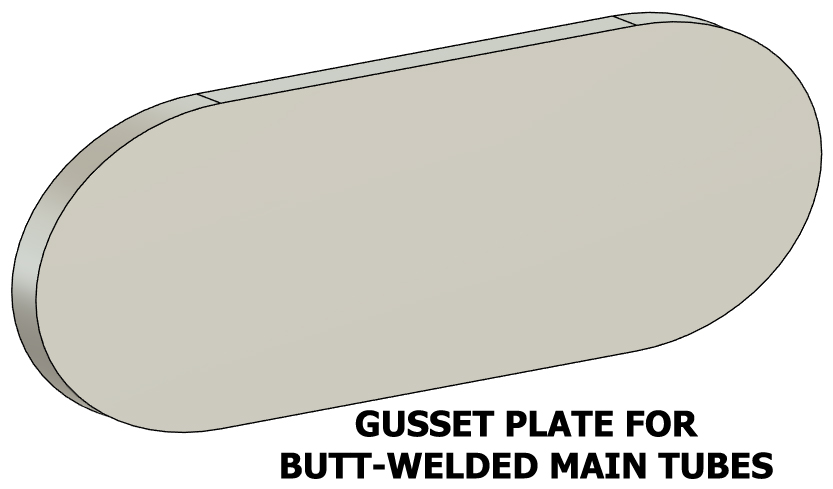
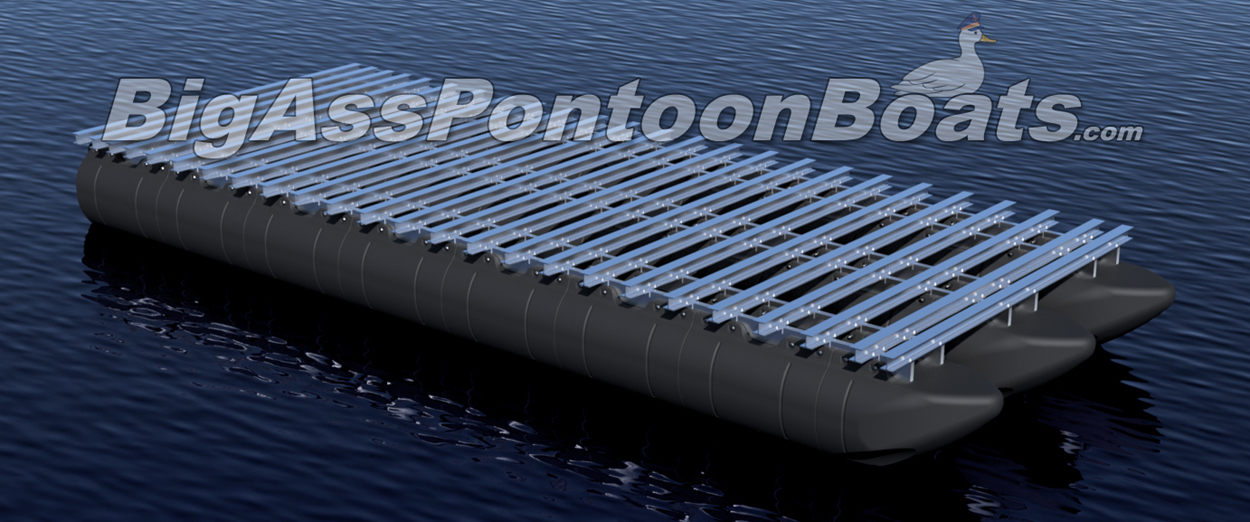
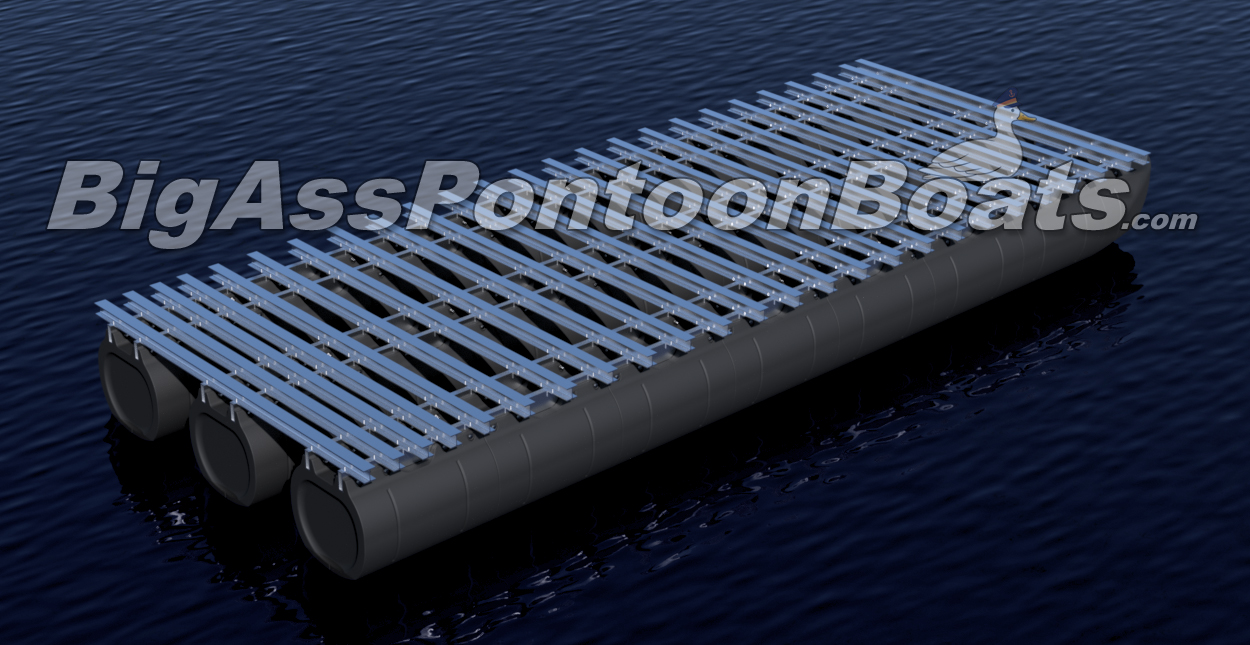
1. We recommend following Step 1-12 of our Full Aluminum Frame System instructions (frame option A) when mounting the pontoons themselves. When reading through the instructions, replace "Main Beam" with your "Main Tube weldments". The rest is the same. Those instructions are listed here: READ THROUGH STEP 1-12 OF FULL ALUMINUM BOLT-TOGETHER FRAME SYSTEM 2. If you need to splice your Main Tubes, you'll need gusset plates for either side of your butt-joints. Here's a CAD file for the gusset plate design that we like for this application. Bear in mind that you'll want to have this plate centered in a recess of a float's mounting channels (centered on a float) and you'll want to space it about 3/4" up from the base of the butted tubes. Also, this gusset plate requires beefy welds all the way around. RECOMMENDED GUSSET PLATE CAD MODEL 3. For the love of Pete, don't ask us for full instructions for this frame concept as we won't provide them like we do for the frame systems that we do sell. What we are providing here is all free information for a system that we are not making a dime on! We will not provide full designs and we will only provide verbal advice from this point forward regarding this expert-level, DIY frame concept. If you're not actually an expert-level fabricator, we recommend sticking with the bolt-together aluminum frame system that we offer. 4. Take a good solid look at the example barge system that we have designed with this frame concept to see how it all comes together. We have a 3D viewer and the full CAD model available to download for a 12'x32' triple-row barge system at the link below. EXAMPLE BARGE CAD MODEL
|
|
|
DISCLAIMER
The information listed on this page is only for expert-level aluminum welders and fabricators. Silver Lake Fabrication LLC DBA Tiny Pontoon Boats is not responsible in any way for any work not performed directly by Silver Lake Fabrication. Follow these instructions above at your own risk. Our universal terms and conditions apply when using any information or products provided by Silver Lake Fabrication LLC DBA Tiny Pontoon Boats. Full terms and conditions are viewable here.
|